
In the past months, I started refactoring a legacy Sitecore solution to be Helix compliance. I admit it wasn’t easy and I had lots of issues along the way, but here’s some lessons I learned.
I believe they can help you out when you go through the same journey.
Setup a local instance closer to production
This is something I have been doing and it has helped me specially during Sitecore upgrades and a structural refactoring. I was able to catch some edge cases that were only possible to detected if I deployed to a User Acceptance Environment or Production.
When you are developing / refactoring, often you forget about rule-based configurations because your local installation is set as “Standalone” by default. There are problems that you only will catch in an environment that’s ContentDelivery only.
To configure multiple roles, before Sitecore 9, you had a list of configuration files that you had to disable and enable. This was very error prone. Now, you simply add an application setting to the web.config and everything is magically configured for you (almost). Of course, there are some extra configurations you need to add depending on how you scale your application.
If setting a local instance closer to production seems to be too much, then at least split your installation between Content Delivery and Content Management (+Processing, Reporting).
Here’s how you would configure the Content Delivery role in the web.config:
<appSettings>
    <add key="role:define" value="ContentDelivery" />
</appSettings>
And here’s how you would configure the Content Management role in the web.config:
<appSettings>
  <add key="role:define" value="ContentManagement, Processing, Reporting" />
</appSettings>
Setup local automated tests
Before changing any line of code, make sure you setup automated tests to check if anything gets broken as you refactor the solution.
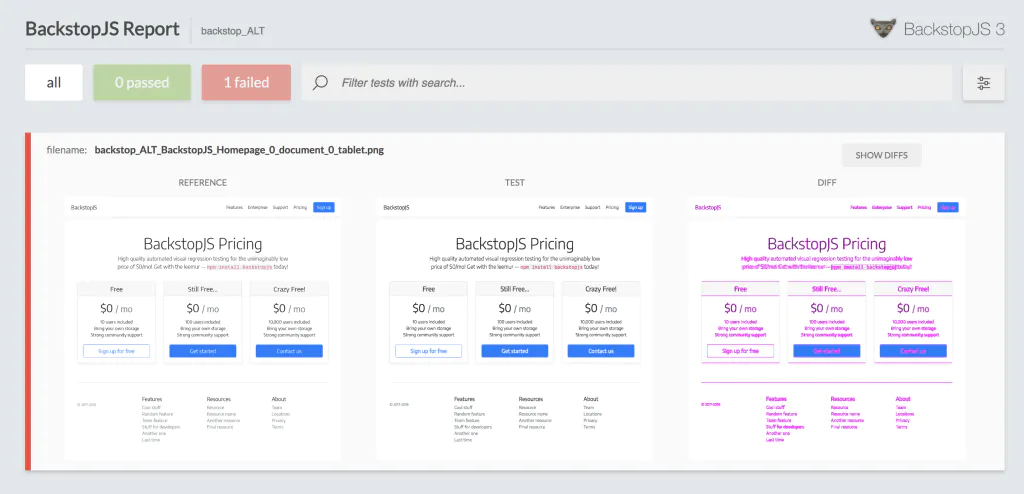
Backstop.js comes in handy when you do not have time to prepare some unit or integration tests.
In a nutshell, Backstop.js will take screenshots of a pre-configured selection of pages in your website and use them as reference. As you advance further in your refactoring, you simply run backstop test command line, and it will take new screenshots, compare the new page screenshots against the reference ones and at the end show you a report highlighting the differences.
With every change you do on the source code or on Sitecore, make sure you run these automated tests.
Do not make a lot of changes before running a test. Make it small, make it smart.
Reestructure your solution into Foundation, Feature, Project and Legacy folder
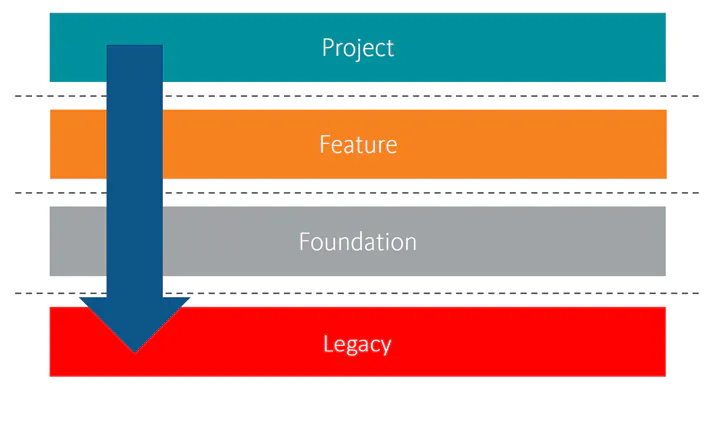
This is the stage where you create the Helix folders in the file system and in the solution. On top of the Helix folders, you should create a folder named “Legacy” and move all existing code into this folder.
As you create new modules in the Project, Feature, Foundation layers they can reference the projects in the Legacy folder when needed. On the other hand, the projects in the Legacy layer are not allowed to reference any module in the Project, Feature and Foundation layers.
At this stage, do not fall into the temptation of improving code. Focus only in reorganizing your solution logically and physically.
This step might require you adjusting your CI/CD configuration to deploy multiple Visual Studio projects as well.
Start by grouping renderings into modules
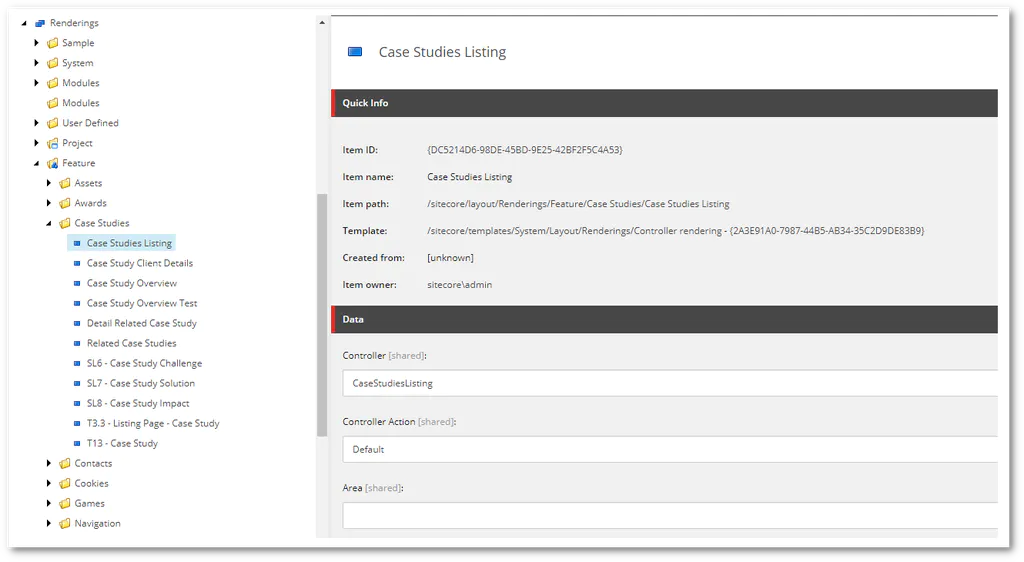
Before I touch any code, I like to group the rendering items into modules such as Page Content, Map, Search, Navigation, etc.
This is something that might require involving your team and some key users in order to understand what is the role of each rendering. Specially when you are working on some legacy code.
During this stage, you might realize that some renderings are not used at all or even find some “test renderings” that were created long ago and mistakenly deployed to production. Simply delete them and remove any trace of these renderings from your source code.
Once you are finished reorganizing rendering items, you can start creating the modules in your solution and moving the code related to these renderings – Models, Views, Controllers, Repositories, Services, etc.
One thing that saved me some work was removing the full qualified namespaces from controller renderings. This way I could move controller classes between namespaces without worrying to update them in the rendering item.
This approach requires that controller names are unique among your code base and that none conflicts with existing Sitecore controllers.
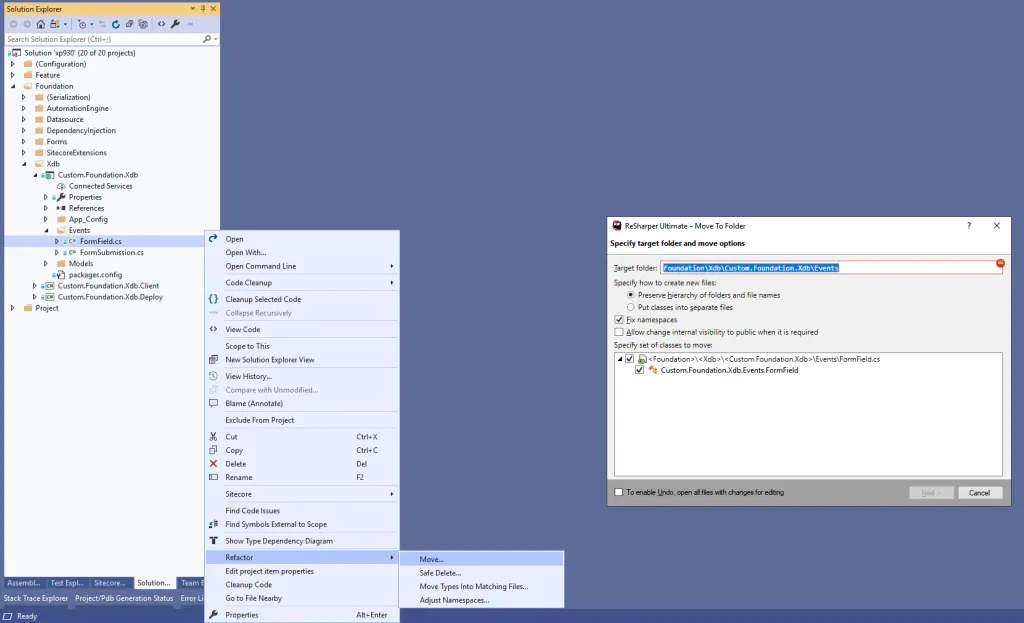
Resharper has a nice feature that allows you to move classes to other projects while adjusting the namespace and references.
If you don’t know which rendering item should fit where, here is some common ways to group the modules:

Next, move templates and other definition items
Having completely migrated the renderings, it becomes easy to decide where each template and other definition items both in master and core databases should go.
Here you should follow the Common Closure Principle and group together items that are related to their respective module. If an item is reused by more than one module, consider abstracting it and promoting it to the Foundation layer.
Heads-up: I have noticed that field Datasource Template in a rendering won’t update its reference when moved if it is already broken. Since it is a single-line field instead of a general link field, consider using the templates GUID, rather than its path.

Focus on the Feature and Project layer
You should primarily focus on the Feature and Project layer.
As you do the refactoring, whenever you identify scenarios where you need to reuse code across the Feature layer – remember a feature module cannot reference another feature module – you can abstract it and promote it into the Foundation layer.
There are obvious candidates for the Foundation layer, such as Indexing and IOC. For those, you should create them in the Foundation layer.
Leave empty migrated projects and configuration files
As you move configurations to module-specific configuration files (e.g. Foundation.Indexing.config), leave the original configuration file empty, so it is overwritten when first deployed.
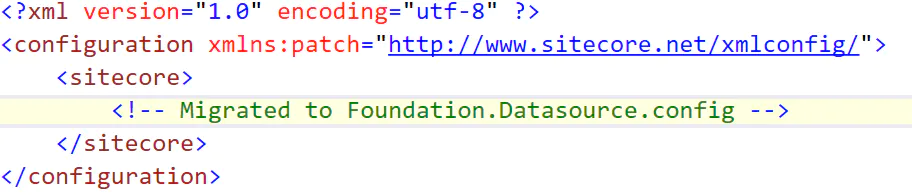
It’s very frustrating when, right after a deployment, things stop working or perhaps that configuration patch is never updated and for “some reason” it keeps using the “old values” until you find out it is pulling data from the old configuration file that wasn’t removed. That’s why I recommend keeping them empty until the next release.
Do the same with the Visual Studio projects, so the existing legacy assemblies will be overwritten with an empty one.
Once first deployment is done, plan removing the empty configs and assemblies.
Finally, remove them from the solution.
Make the refactoring agile
For every Sprint, make sure you limit the refactoring to 2 or 3 user stories.
Do not go with the big bang approach by refactoring a lot of things in one go. The chances of breaking things are enormous.
Issues are expected, so take it slow.
And as always run your automated tests before going live.
Credits
Photo by K I L I A N 📷 on Unsplash
